
Ultimate Guide to Surviving the Mark Fulton 8000 Meter Challenge (Three Saints Outdoors)
- aredekop
- Sep 14, 2016
- 8 min read

Mark Fulton founded the 8000 Meter Challenge in 1995 in order to show participants that they are capable of doing more than they thought possible. The challenge consists of hiking Southern California's three tallest peaks in one day, covering 40 miles and 12,000 feet of vertical gain. By now you are probably cringing or if you are like me, you are sitting on the edge of your seat.
Where does the name 8000 Meter Challenge come from? Its the question that is asked every year with an interesting answer. 8,000 meters is the elevation point at which survival is difficult. There are only 14 mountains worldwide that exceed this elevation height, however it will feel like you hit that elevation when making such drastic gains throughout the day for this challenge. (check out this wiki for elevation gains on some of the world's biggest peaks. Don't worry, the 3 mountains have honorable mentions - https://en.wikipedia.org/wiki/List_of_mountains_by_elevation)
So back to the challenge itself and how in the world you survive. I would like to say that it is 80% mental and you can just go out an wing it, but unless you are Indiana Jones, you will probably require a bit more preparation.
Step 1: Know what you're signing yourself up for.
Here is a layout of the 3 mountains and their elevation gains. There is a handy cheatsheet on how to make the infamous "down tram". What is this down tram I speak of? On the third and final mountain, you have to take a tram UP to the start of the trail. The last tram up is at 8pm. If you want to make the down tram to earn extra points for your team, you have to finish before the last tram leaves at 9:45pm. Note: you don't actually have to take the tram down. You can choose to stay on the mountain and camp out with all the people who finish closer to the cut off at 2am.
San Antonio (Mt. Baldy) - 10.2 miles
San Gorgornio - 18.4 miles
San Jacinto - 12 miles (measured from tram station doors)
Step 2: Train. Train. Train.
Some people have different ideas of what training means for this event. Some thing it means just getting elevation exposure on a leisurely hike. Others may think it means logging as many miles as you can.
My suggestion: try to simulate the challenge by not only logging some extra miles at elevation, but also taking a nice break in between two hikes in one day. Its one thing to do a long thru hike in one day, and an entirely different thing to hike with sore, lactic acid ridden legs after resting. Simulating this will help you find what works for you such as how to hydrate in between hikes, how to refuel, what clothes to change, etc. If you train this way with your teammates, you can also see who is going to be roughly the same pace as you. This will be helpful when you read about race day logistics below.
I would also suggest taking advantage of the new training hikes being offered by the 8000 Meter Challenge organizers. These will allow you get a feel of the mountains before the actual competition date as well as score you some extra points for your team. If you can't make it to an official training hike, try checking out the mountains with a teammate or two. Being familiar with the environment not only helps you feel more comfortable on race day since you know what to expect, but may also cut down your chances of getting lost (not likely, but your sense of direction tends to go out the window after you've hiked 40 miles).
Step 3: Pack your stuff and check it twice.
Here is a gear list I used for the 2016 challenge. Not all of it was necessary, but sometimes you end up using things you didn't expect to and ditch the stuff you thought you would need most. *Note that gear from Sponsor brands can land your team extra points - I put an asterisk next to these items:
Nathan hydration pack, 2 liters
Solomon soft flask, .5L
Black Diamond 200 Lumen Headlamp*
Sunscreen
Julbo Sunglasses*
Hat - I prefer to rep by local running company
Suunto Ambit3 Watch*
Lekki Trekking staff - I only used it on San J but wish I had used it more
3 outfits, one for each mountain
Injinji hiking socks
Patagonia lightweight capilene long sleeve*
Cotopaxi Paray pacakable, rain resistant jacket
TNF Tank top
TNF Long sleeve
Mizuno running shorts
Shoes
I recommend 1 pair for each mountain if possible. I only had two pairs with me and wished I switched them out for San G. Make sure you are used to training in them them and that they are broken in. Extra points in they have a sturdy bottom or rock plate to prevent bone bruising on your feet.
Keen hiking low cut / lightweight hiking shoes
Asics Fuji runners
Chaco sandals, mostly for the last mountain when my feet need to breathe
Food
I packed tamales for when I wanted a meal like item between mountains
KIND Be Strong bars (10g protein plus savory/salty flavors)
MunkPacks - they have fiber to help me stay full
Pack Snacks
Honey stinger waffles
Pretzels
More MunkPacks
Wet Towelettes to clean off between mountains
Car charger or portable charge for phone, watch, etc
Marshmallow roller to break up the lactic acid
Overnight Bag for San Jacinto
Marmot Sleeping Bag
Sea to Summit Ultralite Sleeping pad
We had a volunteer bring us pizza so we didn't have to worry about food
Warm Hat
Jansport sweatpants
More wet towelettes
Toiletries
Injinji compression socks
Marmot rain jacket
Chaco sandals
Step 4: Enjoy the friendly competition and make friends.
If I didn't mention it before, make sure to pack a good attitude and just enjoy the opportunity to be outdoors and surrounded by such awesome people. In previous years, I've had the opportunity to meet a Triple Crowner and an original Western States 100 horse race running participant. The stories these people have are phenomenal and worth taking the time to talk a bit if you find yourself keep clip with someone on the trail.
Race day logistics.
This is when all the training and preparation finds itself in after. Some people choose to camp out at the trail head, some go home to their own beds, and other find a cheap hotel. After hopefully gaining a good night's sleep, you need to be up and at the start line for the 5am start time on Mt Baldy.
Mt Baldy.
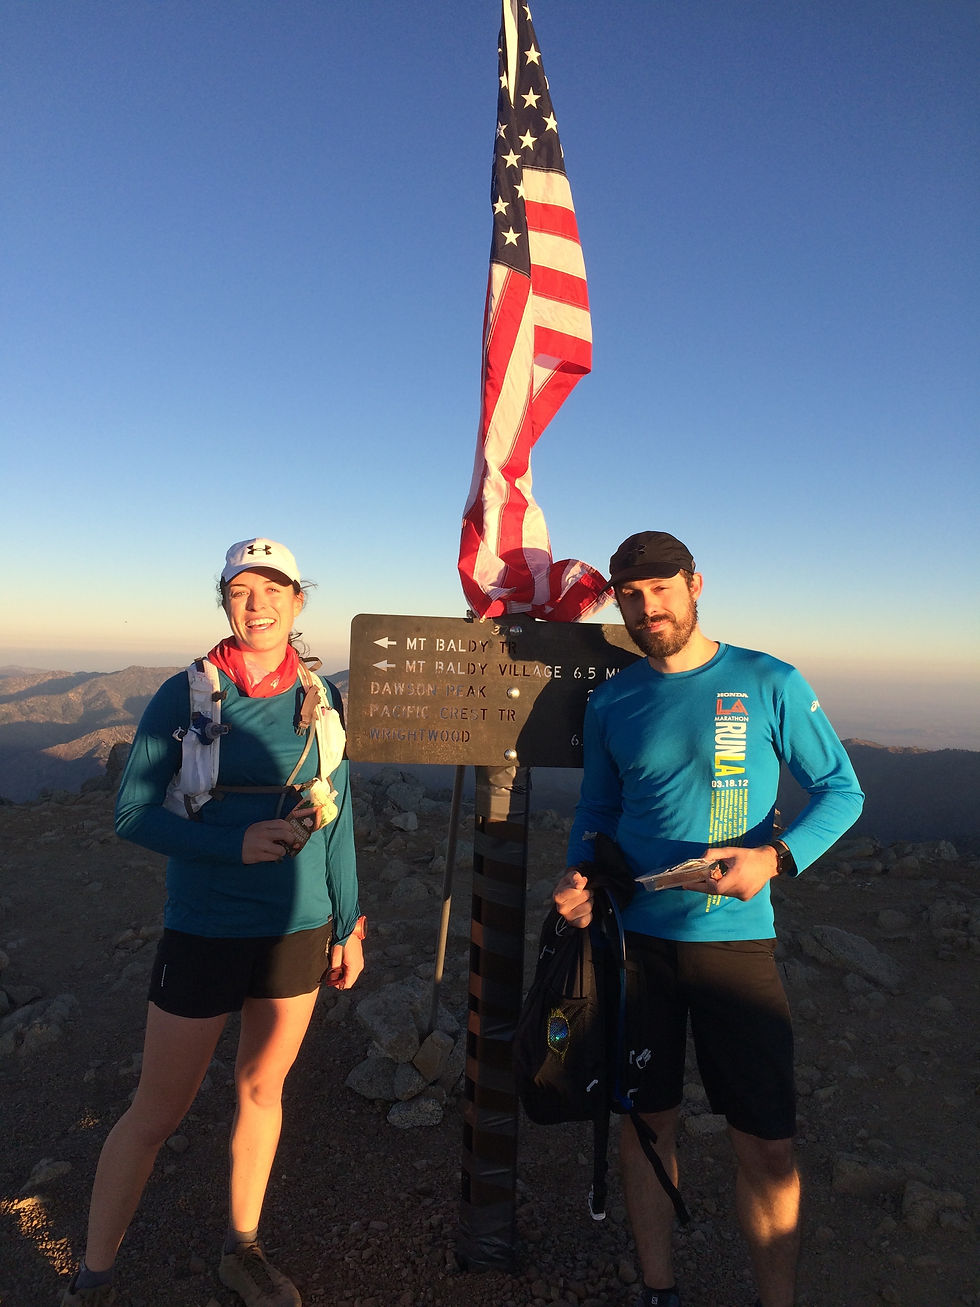
The initial rush is great since there are so many people all starting out together. You will never be too far from someone else on the first mountain. If you plan to down tram, I would suggest jogging the first half mile of the trail to get in front of the slower hikers. Passing people on this trail can be difficult, so getting stuck behind slower hikers can kill a down tram goal. Likewise, don't get caught up with some of the trail runners who can keep a fast pace the entire way up. You don't want to burn out your legs on the first mountain if you aren't used to the pace.
Mt. Baldy is by far the steepest of the three mountains. Your muscles are going to really feel it towards the top. Again, don't burn out your muscles on this mountain since you still have two to go! Calculate your pace so that you can make up time on the downhill.
Once you get back to the parking lot, transportation logistics play a huge role in the success of your team. It is an hour drive to San G, so logistics can help in many ways. You have two options: people on your team drive themselves and carpool or you find people who love you enough to drive you around for the day.
Having volunteer drivers is also great since you can focus on some TLC for your aching body between mountains. Here is a quick and easy checklist for what to do between mountains:
- EAT. Make sure you are replenishing all the fuel you just burned
- speaking of eat, make sure you put snacks/gels/fuel into your pack for the next mountain
- hydrate. you want to make sure you are peeing clear throughout the day. this has several benefits, including fighting off the inevitable muscle cramping. using some sort of electrolyte supplement may be good if you have trained with it
- change socks/shoes/gotchies/etc - having moist socks causes blisters. if nothing else, change your socks.
- treat yourself - and when i say that, i mean with muscle relieving creams (nothing like hot boxing a car with tiger balm) and foam rolling. I tend to suggest staying away from drugs like tylenol since they have impacts on hydration, but do what you need to survive
San Gorgonio.
At a whopping 18.4 miles, I can easily say that this is such a long, long, looooong mountain. The first two miles are rough, but after that initial incline, the rest of the way up is pretty steady until the last mile stretch to the peak.
Around mile 5.5, you will cross the Vivian Creek which offers cold, fresh water to refill your pack with. This year, they only offered to filter the water for hikers on their way down the mountain and were only able to filter 12oz at a time. If you are on a time crunch or want some major water refill, you could always take the chance and drink it straight from the source without the filter. Do what you think your stomach can tolerate, since you don't want to be stuck on Jacinto with bubble guts.
The top of the mountain is well above the tree line and allows from some high winds. I went from being really hot to really cold in a matter of minutes. I would definitely recommend taking a light jacket, preferably one that is rainproof since the weather is really unpredictable.
When you get back to the car after San G, you gain the satisfaction of knowing that the hardest and longest stretches of the event are behind you.
San Jacinto.
The biggest piece of advice that I can offer for San J is to always take an overnight bag just in case. We try to have an overnight bag that is separate from our day gear, so that it is easy to grab and go. I've heard a couple stories of people getting lost or having a dramatic slow down in pace on the last mountain (obviously you already hiked 28 miles at this point, you're going to start slowing down). It is better to have gear just in case than to be stuck without anything. Be sure to pack food since the soup kitchen, although really awesome, may not be enough to refuel before falling asleep.

San J is very well groomed, but also has a lot of "steps" - picture walking up and down a flight of stairs. This can be really rough on tired muscles. If you don't normally use hiking poles (like myself) and are working with tired muscles, hiking poles or a hiking staff may be your best friend since each step will probably cause a slight cringe.
If you make it for the down tram time, you are paced to finish and be inside of the tram station BEFORE 9:45pm. There are a nice set of concrete switchbacks up to the tram station that should not be overlooked. This is the last part of the challenge, but typically to hardest part of the entire day...that last obstacle before you officially make it back to the parking lot and to the comforts of your hotel or own bed.
If you don't make it for down tram time or you just feel like hanging out with some great people, you can camp out on the mountain right outside the tram station. They obtain special permits for us to camp in this area that are granted on a request basis, so please leave no trace and even find a few pieces of trash to remove on your way out. Marmot provides awesome tents to test out, or you can sleep on a tarp and stare at the stars. My recommendation - definitely bring a sleeping pad.
I hope you found my breakdown of the 8000 meter challenge helpful! They are hoping to offer an event to the public in the future, but you could always try to tackle this challenge on your own. Just know that you will need wilderness permits to hike San Gorgonio and will have to purchase a tram ticket for San Jacinto. Happy hiking!
Comments